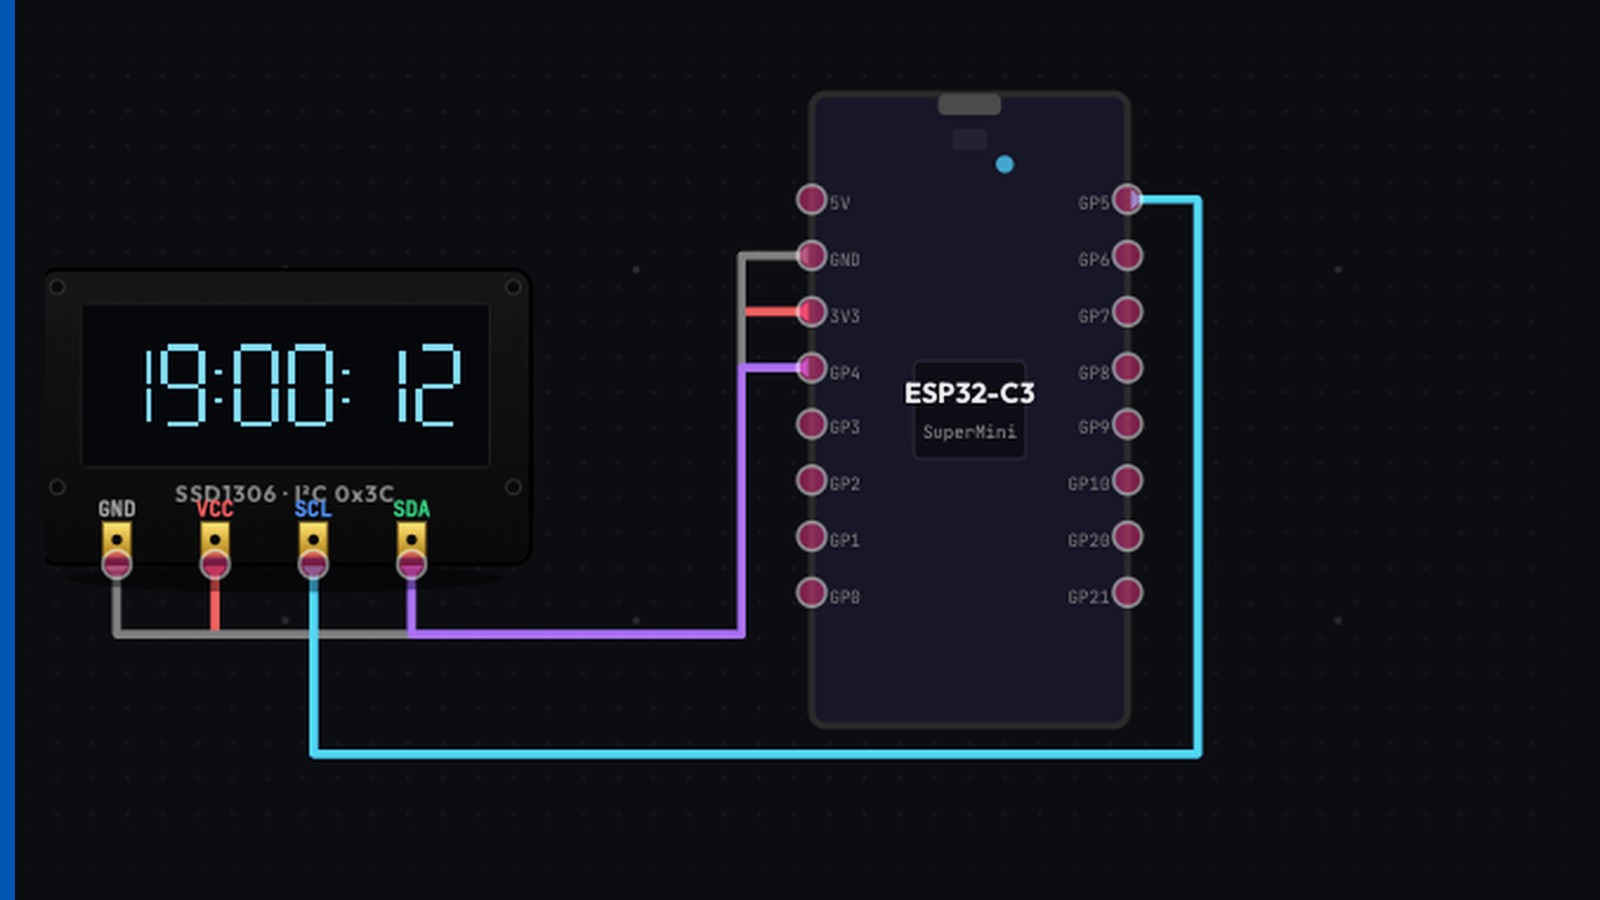
Debugging I²C
Inter-Integrated Circuit (I²C) uses two wires. A device on the bus cannot drive a line to the high level. Each device can only pull a line to the low level. Each device can also release the line. The high level occurs when all devices release the line. A resistor then pulls the line up.
That one rule causes almost every I²C failure in this lesson. Learn the rule first. The failures are then related. The failures are not separate problems.
Contents
- The electrical model
- Failure 1: no pull-up resistors, or incorrect values
- Failure 2: two devices with the same address
- Failure 3: a device holds the clock
- Failure 4: the probes are on the wrong pins
- The correct debug sequence
The electrical model
Both lines are open drain. The lines are SDA (serial data) and SCL (serial clock). Each device pin is a switch to ground. When the switch closes, the line goes low. When the switch opens, the device no longer drives the line. The pull-up resistor then sets the level.
This model has three results. Each section below uses these results.
- A low level overrides a high level. One device holds a line low. No other device can then set that line high. This behavior is intentional. Acknowledgement and arbitration use this behavior.
- Without a pull-up resistor, the line has no high level. The line floats. A line that floats is not a high level. The line has no defined level. Noise can change the line.
- One device can stop the full bus. One device can hold SDA low. That device does not release SDA. All other communication on that bus then stops.
The third result shows why I²C failures have large effects. One incorrect sensor stops the full bus. Software with no relation to that sensor then shows the symptom.
Failure 1: no pull-up resistors, or incorrect values
The failure: You connect SDA and SCL directly between the microcontroller unit (MCU) and the sensor. Nothing operates. A bus scan finds no devices.
The cause: Without a pull-up resistor, the line has no defined high level. The bus does not receive a valid start condition.
This failure is a property of the wiring. A rule can find it before you run the simulation. The LabWired electrical rule check examines each net. The check finds the I²C nets from the device pins that have an SDA or SCL function. The check then makes sure that each net has a path to a positive supply. If a net has no path, the check reports I2C_NO_PULLUP. The check also gives the name of the net.
Two conditions cause errors in opposite directions.
Many breakout boards have pull-up resistors. The Adafruit SHT31-D and MPU-6050 boards have 10 kΩ resistors to Vin. If you add more resistors, the resistors operate in parallel. The total resistance then decreases. Two 10 kΩ resistors in parallel give 5 kΩ. Four boards with 10 kΩ each give 2.5 kΩ. Each device must then sink more current than its data sheet permits.
Use these rules:
- Use one pull-up path for each line on the bus.
- Examine the breakout board. Find if it has pull-up resistors.
- If more than one board has pull-up resistors, cut the solder jumpers on all boards except one.
A high resistance and a low resistance cause different symptoms. A high resistance increases the rise time of the line. One example is 47 kΩ on a long bus. The bus operates at 100 kHz. The bus fails at 400 kHz. The line does not reach the high level before the sample time. A low resistance (for example 1 kΩ) does not let the devices pull the line fully low. If the bus fails only at high speed, examine the rise time. If the bus never operates, examine the levels.
Failure 2: two devices with the same address
The failure: Two sensors operate correctly one at a time. Together, the sensors give incorrect data. Or one sensor does not reply.
The cause: An I²C address has 7 bits. The manufacturer sets the address. Many devices have the same default address. If two devices have the same address, both devices acknowledge. Both devices drive the data line. The master reads the bitwise AND of the two replies. The bus reports no error. The data looks correct. The data is wrong.
Use these solutions in this sequence:
- The address-select pin. Most sensors have one or two address pins. Connect each pin to the high or low level to select between 2 or 4 addresses. An ADXL345 uses address 0x53 or 0x1D. One pin selects the address.
- A second bus. Many MCUs have more than one I²C peripheral. Two buses remove the conflict. Two buses need no additional components.
- A multiplexer. A TCA9548A gives eight isolated buses through one address. Use a multiplexer when you must connect eight identical sensors.
LabWired prevents this failure during design. The topology model does not permit two devices on the same bus to use the same address. A multiplexer is the correct way to connect identical devices.
Failure 3: a device holds the clock
A slave device that is not ready can hold SCL low. The master releases the clock to start the next cycle. The slave holds the line low. The master must wait. This function is clock stretching. The protocol permits clock stretching.
Clock stretching causes two different failures.
The master does not obey the stretch. Software I²C implementations frequently set the clock pin on a timer. They do not examine the line after they release it. This method operates correctly with a device that does not stretch the clock. With a device that stretches the clock, the master continues to send clock pulses. The master reads incorrect data. Many electrically erasable programmable read-only memory (EEPROM) devices stretch the clock during a write cycle. Many sensors stretch the clock during a measurement. The same software and the same wiring operate with one sensor. They fail with a different sensor.
The slave stretches the clock longer than expected. The bus stops for that time. All other devices on the bus stop. The slowest device then sets the response time of your control loop.
LabWired models this behavior. The ESP32-C3 I²C controller uses a bit-level engine. The transmit buffer can become empty during a write. The controller then holds SCL low. The controller waits. The logic analyzer shows a clock that stops in the middle of a byte.
Use the line levels to identify the condition. Clock stretching gives SCL low, SDA inactive, and no data movement. A device that holds the bus gives SDA low continuously. The two conditions use different lines. Each condition needs a different correction.
Failure 4: the probes are on the wrong pins
The failure: The capture is empty. Or the decoded data is incorrect. The bus operates correctly.
The cause: A protocol decoder needs both lines of the same bus. You cannot decode SDA alone. The clock defines when each data bit is valid. You connect one probe to the SDA line of one bus. You connect the other probe to the SCL line of a different bus. The decoder then gives bytes. Those bytes are incorrect. Incorrect bytes are worse than no data.
The same condition applies to different chips. A decoder reads one bus on one chip. The probes can be on two different MCUs. No single bus then exists for the decoder. The LabWired analyzer finds this condition. The analyzer reports the condition. The analyzer does not decode the data.
If a decode gives no data, examine these conditions before you examine the firmware:
- Are both probes on the same bus?
- Are both probes on the same chip?
- Does the peripheral use the pins that you probed?
The last condition is important on chips that have a general-purpose input/output (GPIO) matrix. On the ESP32 family, almost any pin can carry almost any signal. Firmware sets the I²C pins. The package does not set the I²C pins.
The correct debug sequence
Use this sequence. The sequence finds the most frequent failures first.
- Examine the wiring and the power supply. Make sure that the device has power. Make sure that ground connects to the MCU ground. Make sure that SDA and SCL connect to the correct pins. Incorrect pins cause more I²C failures than protocol errors.
- Examine the line levels. With no data on the bus, both lines must be high. If one line is low, stop. A pull-up resistor can be absent. Or a device can hold the line. Do not continue until both lines are high.
- Scan the bus. If the scan finds no devices, the failure is in the wiring or in the pull-up. If the scan finds an unexpected address, the address-select pin is in the wrong position. If the scan finds fewer devices than you installed, refer to Failure 2.
- Decrease the clock frequency to 100 kHz. If the failure stops, the cause is the rise time. The pull-up resistance can be too high. Or the bus capacitance can be too high for the frequency. This test needs ten seconds. This test separates electrical failures from protocol failures.
- Examine the protocol. Incorrect register addresses, an incorrect byte sequence, and no repeated start condition are real failures. Examine these failures last. Do not examine them first.
Steps 1 to 4 are electrical. Most I²C debug tasks are electrical tasks.
Try it yourself
The lab below operates in the browser. The lab needs no board. The lab needs no toolchain. The lab starts automatically.
The lab runs a BME280 driver on an STM32F103. The firmware reads the factory calibration data from the sensor over I²C. The firmware then calculates the compensated temperature, humidity, and pressure. The bus uses two pins. SDA is PB7. SCL is PB6.
The lab includes a logic analyzer. Channel CH0 connects to SCL. Channel CH1 connects to SDA. Both probes are on the same bus. Both probes are on the same chip. Failure 4 requires this setup.
Click Open in LabWired. Then double-click the logic analyzer on the canvas. You can then read the captured data. The analyzer shows each transaction. Each transaction shows the address 0x76, the read/write bit, and the data bytes. The analyzer shows the SCL and SDA waveforms above the table.
Change the decoder from I²C to Raw. The analyzer does not show a waveform. The analyzer shows this message:
Raw pin capture can’t see I2C1 traffic — these pins are driven by the peripheral (alternate function), not GPIO.
This message is Failure 4 from the instrument. Raw mode reads the GPIO pad. The I²C peripheral controls the pins. The pad is then not the source of the signal. A raw capture would show a constant level. You could make the incorrect conclusion that the bus does not operate. The analyzer does not show that level. The analyzer reports that it cannot see the data.
Do you have an I²C failure to report? One example is a bus that one sensor stopped. Another example is an address conflict that took a week to find. Tell us on r/labwired. We add the best examples to this lesson.