Design and route a PCB with your coding agent. Run firmware against supported analog and peripheral models, then check whether the routed circuit passes the same test.
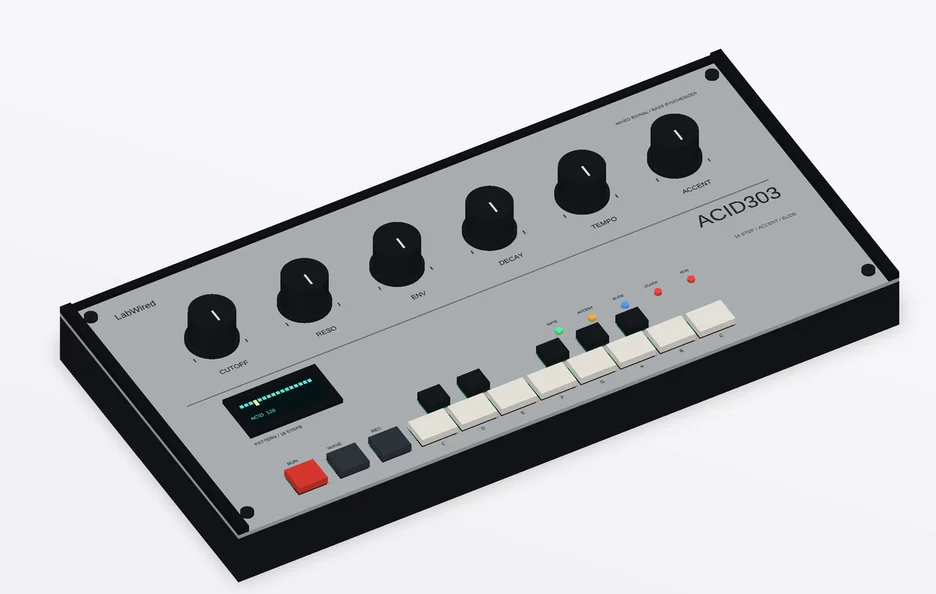
Connect your agent · Hear the ACID303 bass synthesizer
Install for macOS and Linux:
curl -fsSL https://labwired.com/mcp.sh | sh
Restart your agent, sign in when prompted, then ask: List LabWired boards.
A returned board list confirms the connection.
Windows: irm https://labwired.com/mcp.ps1 | iex.
Manual MCP URL: https://api.labwired.com/mcp
Sign in with OAuth when your client asks, or send Authorization: Bearer <LabWired API key>.
model_verified)model_verified verdict is model verification, not hardware proof.Open LabWired in ChatGPT → to add the plugin for circuit design, firmware simulation and PCB layout.
Create a direct MCP connection in your ChatGPT account. Custom servers must be allowed by your account and workspace policies.
LabWired and describe it as Build circuits, simulate firmware, and design PCBs.
https://api.labwired.com/mcp as the server URL.@, select LabWired, and try one of the example prompts below.For current setup details and troubleshooting, see OpenAI's connection guide.
Registers LabWired with Claude Code, Codex, Cursor, VS Code and OpenCode when it finds them.
curl -fsSL https://labwired.com/mcp.sh | sh
Windows PowerShell:
irm https://labwired.com/mcp.ps1 | iex
claude mcp add --transport http labwired https://api.labwired.com/mcp
Open Claude Connectors and choose Add → Custom → Web. Name the connector LabWired and paste this server URL:
https://api.labwired.com/mcp
Continue, review the authentication settings, add the connector and sign in to LabWired when prompted.
Open Grok Connectors, choose New Connector → Custom and enter this server URL:
https://api.labwired.com/mcp
Complete authentication, then try: List the ESP32-C3 boards available in LabWired.
grok mcp add --transport http labwired https://api.labwired.com/mcp
Check the connection with grok mcp doctor labwired.
Add to Cursor, or put this in ~/.cursor/mcp.json:
{
"mcpServers": {
"labwired": { "url": "https://api.labwired.com/mcp" }
}
}
codex mcp add labwired --url https://api.labwired.com/mcp
Or in ~/.codex/config.toml:
[mcp_servers.labwired] url = "https://api.labwired.com/mcp"
code --add-mcp '{"name":"labwired","type":"http","url":"https://api.labwired.com/mcp"}'
Or in .vscode/mcp.json:
{
"servers": {
"labwired": { "type": "http", "url": "https://api.labwired.com/mcp" }
}
}
gemini mcp add --transport http labwired https://api.labwired.com/mcp
Or in ~/.gemini/settings.json:
{
"mcpServers": {
"labwired": { "httpUrl": "https://api.labwired.com/mcp" }
}
}
Add a Streamable HTTP server named labwired with the URL https://api.labwired.com/mcp. For an API key, set the header Authorization: Bearer <key>.
An STM32F411 runs a 16-step bass sequencer. Eight GPIO pins drive a resistor DAC. An LM358 and two RC stages buffer and filter the signal before the MCU samples it on ADC6.
The native LabWired runner executed the same recording firmware on the source circuit and on the model extracted from the routed PCB. Of 8,000 aligned ADC samples, 7,957 matched exactly. The largest difference was two counts. Download both ADC traces (CSV).
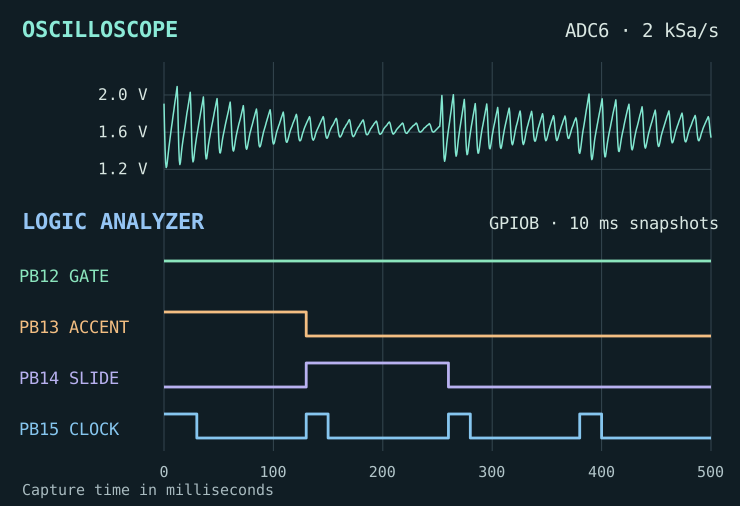
We changed R16 in a copy of the circuit model. At DAC code 128, the ADC read 2,044 counts with 20 kΩ and 372 counts with 200 kΩ. The firmware expected 2,048 ± 64 and reported DAC_ADC_GAIN_FAIL for the faulty value. Read both firmware logs.
Open ACID303 project 7b09c1734f84013f78512cd7e3536b97 in LabWired MCP. Run the saved firmware's DAC/ADC startup test. In a copy of the circuit, change R16 (rd7) from 20 kΩ to 200 kΩ. Rerun the same firmware. For DAC code 128, show the ADC reading and the result against 2,048 ± 64 counts for each run.
Inspect the ACID303 project · Request a feasibility check for your board
Build and verify an ESP32-C3 circuit with an SSD1306 OLED in LabWired. Use real catalog parts, check I2C wiring, compile the firmware, and verify the displayed result with a stated simulation assertion.
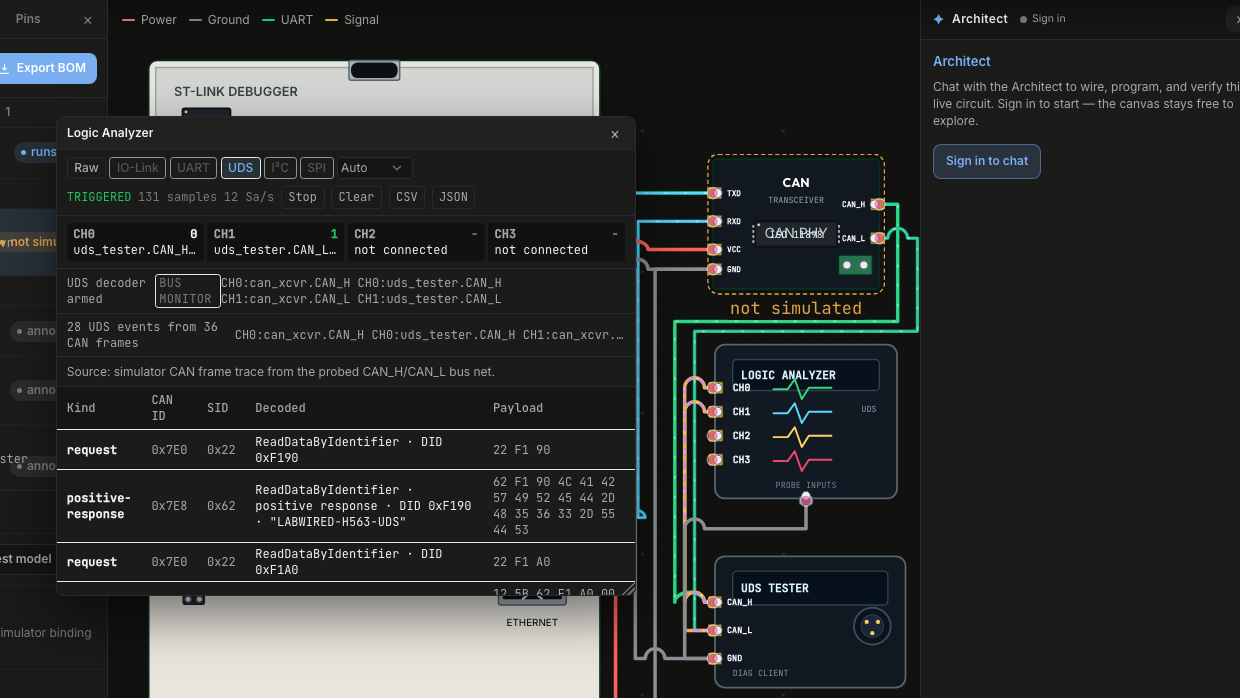
Run STM32 CAN/UDS firmware against a diagnostic-response test in LabWired. Choose a supported board, inspect the response and share the run evidence.
Validate a circuit and route a PCB with DRC checks in LabWired. Resolve unrouted nets, inspect KiCad DRC, then export manufacturing files.
All verified results are evidence from the supported model, not proof that a physical device has passed testing.
Machine-readable: llms.txt · MCP server card and discovery metadata · AI catalog.
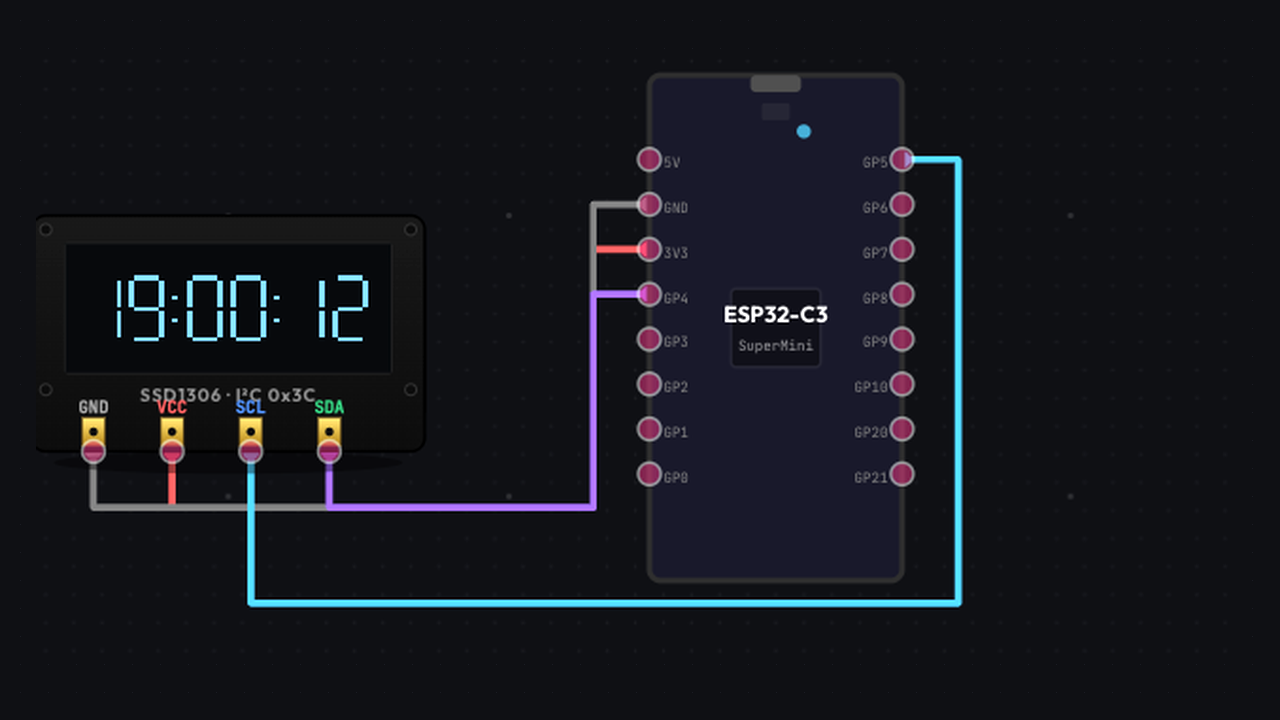
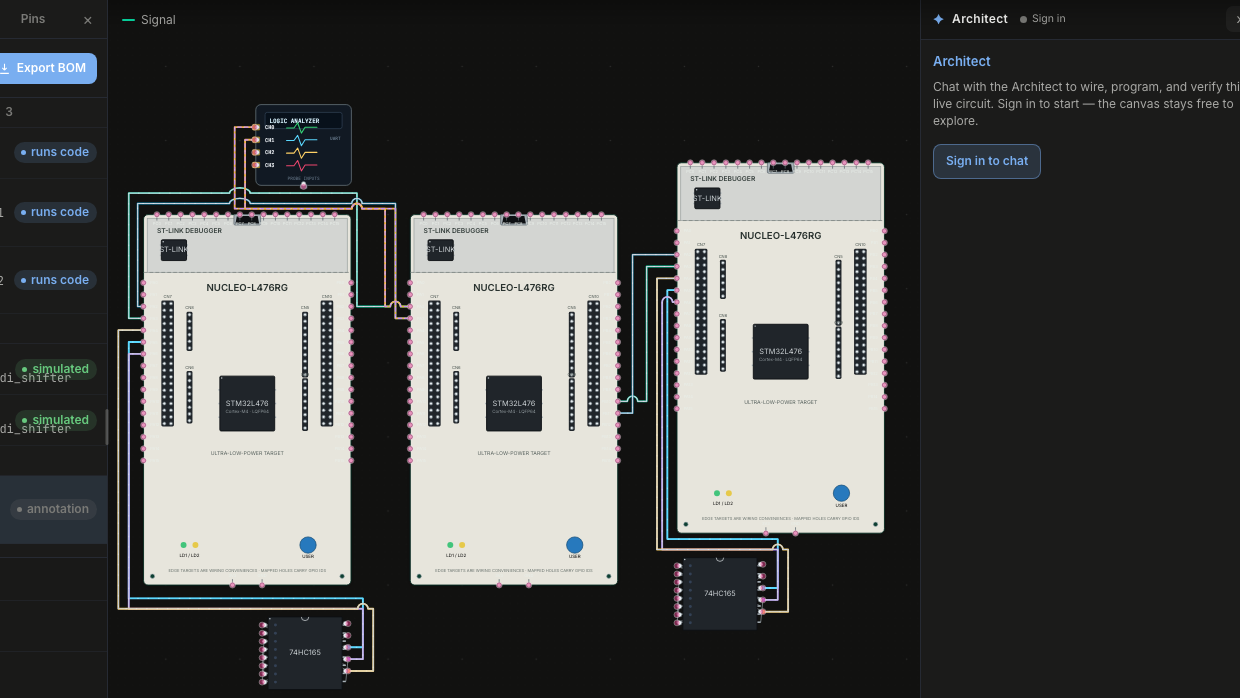
These images are captured from existing LabWired simulator examples. Open the corresponding workflow in Playground to inspect its current state.